So your child has decided to play the clarinet! Congrats!
The first day they bring the instrument home they’ll probably be very excited to show it off. You’ll immediately notice that the clarinet has many different parts and question just what exactly it is you’ve gotten yourself into. Before their child’s first lesson, many parents have expressed their concerns about not having a musical background themselves, or not understanding woodwind instruments specifically. Worry not, this is a fun and beautiful instrument—you’ll forget the initial shock quickly.
Before I begin to describe the different parts of the clarinet, I would like to encourage you to ask your child’s private music teacher questions whenever you have them. Ask, ask, ask! I love it when parents ask me questions. Life is about learning and growing. Asking a private music teacher questions will benefit you and your child, and your ability to be a part of their musical journey.
Below, I will describe all the parts in the order I teach my students to put the instrument together. I also have my students memorize the names of the parts. It makes it so that they truly get to know their instrument and can refer to any part of the instrument if any questions/problems arise. No more hearing “the thingy is broken!”
Ok, let’s assemble the clarinet!
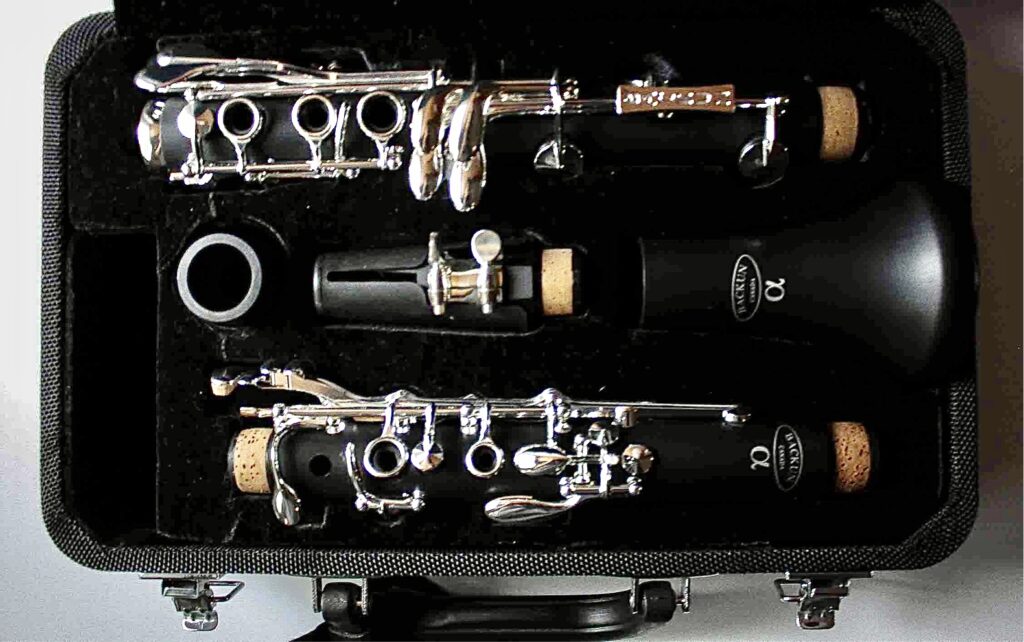
When you open up the clarinet case, you’ll see a layout similar to the one below.

Bell
The very bottom part of the clarinet is called the bell. It is shaped like a bell and helps project the sound you produce.

Lower Joint
This is the longest of all the pieces. It makes up the lower half of the clarinet and connects to the upper joint.

Upper Joint
As the name states, this part makes up the upper half of the instrument.
Important note: the lower and upper joints are connected by what is known as the bridge keys. In assembling the clarinet it is important to make sure that the bridge keys are aligned and that they do not ram into one another. To make sure this doesn’t happen, simply press and hold down the rings of the upper joint while you gently twist to join the parts together. The upper joint bridge key sits on top of the lower joint bridge key.

Barrel
Another part of the clarinet that looks like its name: the barrel looks like a miniature barrel. The bottom of the barrel is typically wider. This is the part you want to join to the upper joint.

Mouthpiece
This is the part of the mouthpiece that will go into the mouth of the player.

Reed
Made out of cane, the reed will be what helps create a sound on the clarinet by sitting on the mouthpiece and vibrating really fast as air is blown through. It is kept in place on the mouthpiece by the….

Ligature
This part will typically have two screws. When the ligature is placed correctly on the mouthpiece, the screws will be on your right. Make sure to not over tighten the screws. Enough turns to hold the reed in place is all you need. Also, make sure your child doesn’t sit on the ligature! It happens often, believe it or not. It can be bent back into shape, but it’ll be more susceptible to breaking afterwards.

All the best to you and your child on this new adventure!
If you have any questions please feel free to message me or book a lesson with me!
