Alright so first off when I say “BEST” I really mean “my favorite” way of setting up the clarinet. I find that going in the following order ensures:
-It’s an easy process that has an order to it, there is a flow to the sequence.
-That you have good control/balance of your instrument as you put it together.
And
-You put your instrument together in a quick manner.
*Speaking of a quick set up! Before setting up my clarinet I like to take my reed and put it in my mouth or water flask to start soaking it!
Here’s how I put my clarinet together:
I start with our “base”, the bell of the clarinet.
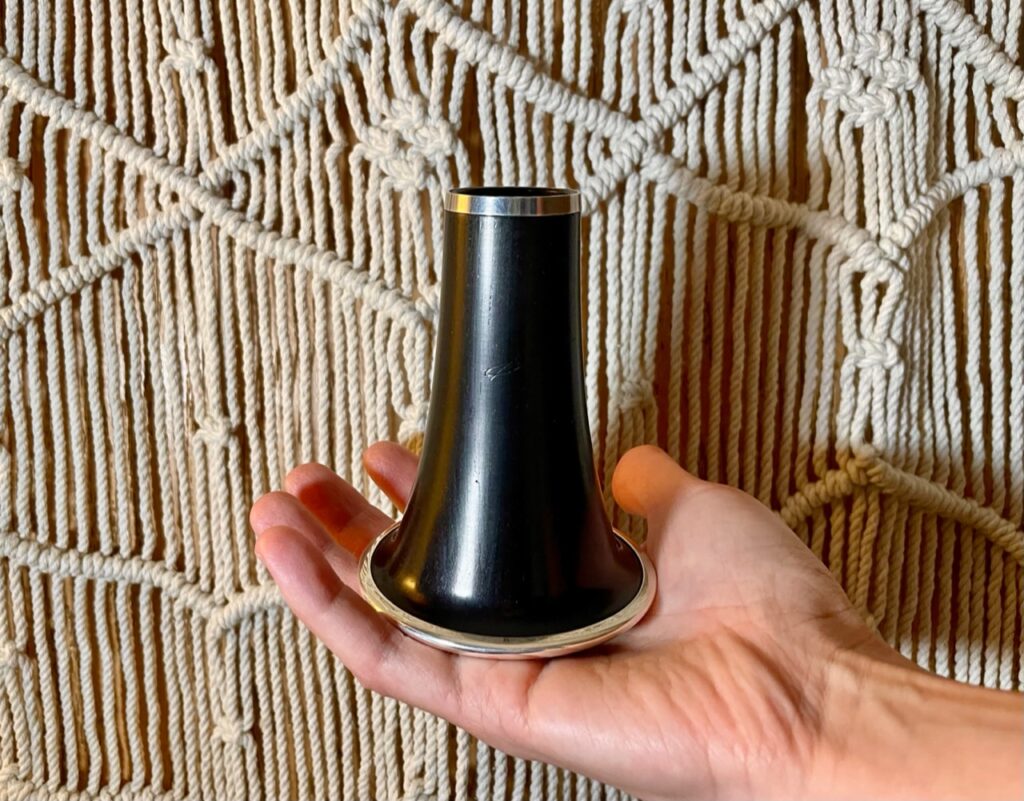
I then grab the lower joint and twist and push to piece it together with the bell.
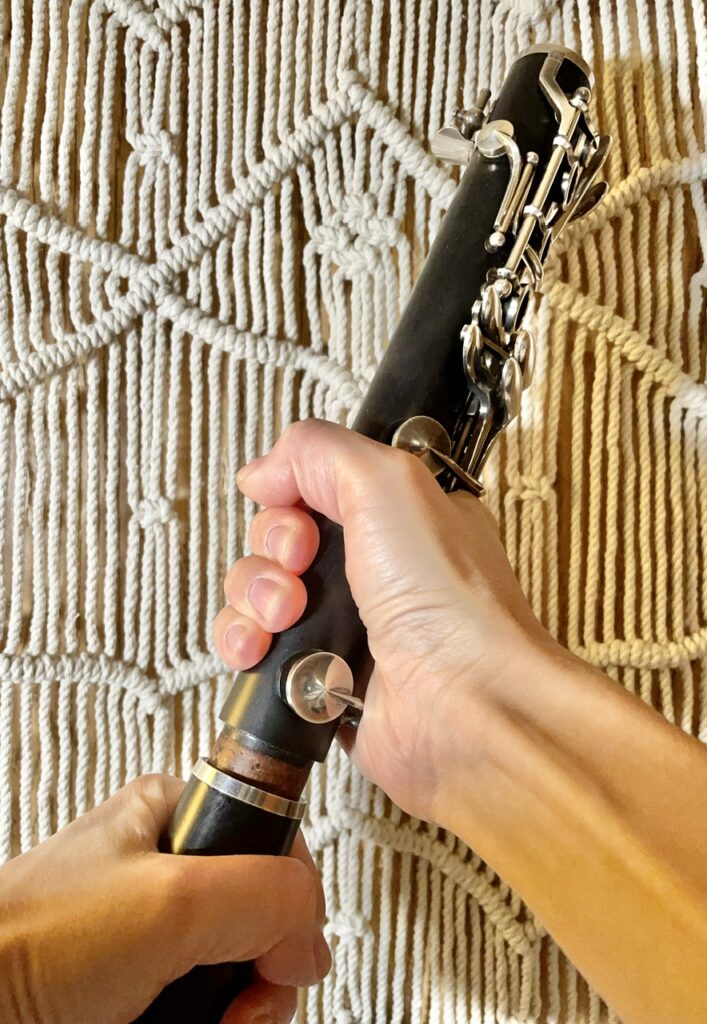
(Quick side note- if your parts are not coming together easily, you might need to grab some cork grease. Smear a thin layer on the corks, you can use your finger to more evenly distribute the grease.)
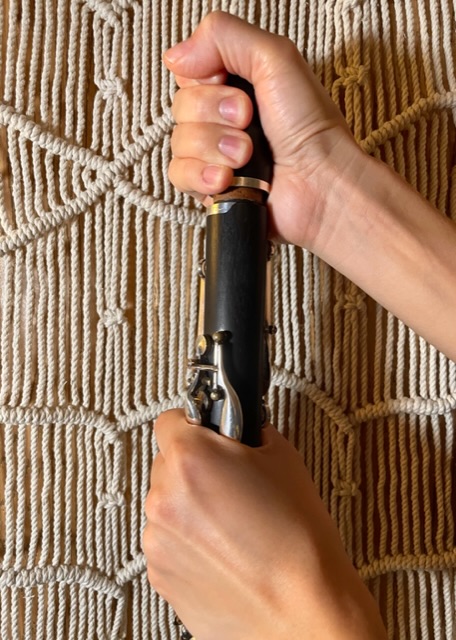
Once the bell and lower joint are joined together I grab the upper joint. Notice how and where I’m holding the lower and upper joint. Twist and push to join the parts, making sure to line up the bridge nice and straight.
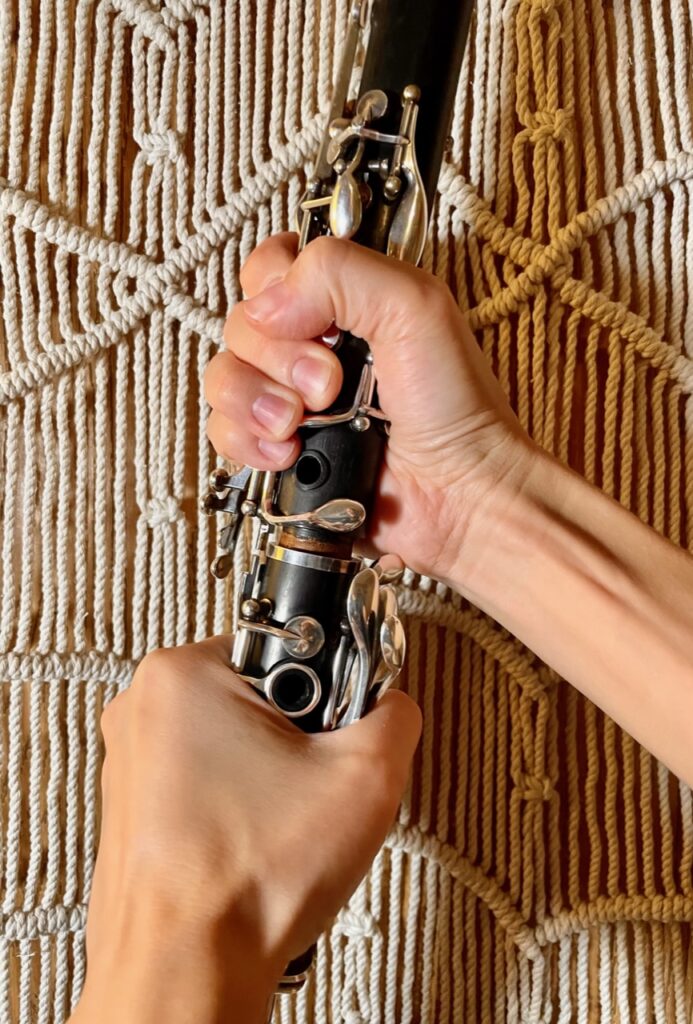
*When holding the upper joint, make sure the 2nd tone hole ring is pressed down. This will make sure the bridge key is kept up before you start to twist the upper and lower joint together.
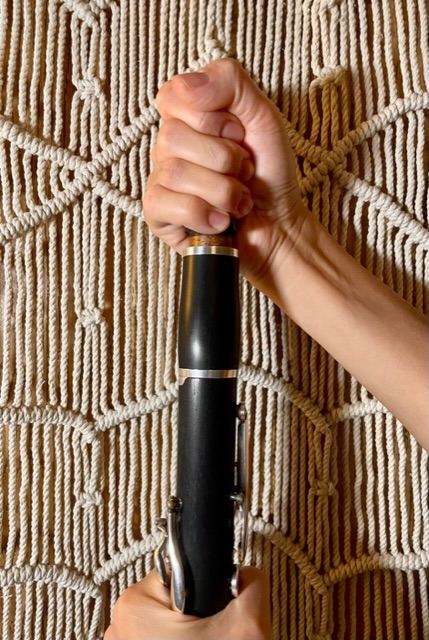
Once these 3 parts are together, I grab the barrel. The wider end of the barrel is what connects to the upper joint. At this point I have my clarinet either standing on my chair or lap for support.
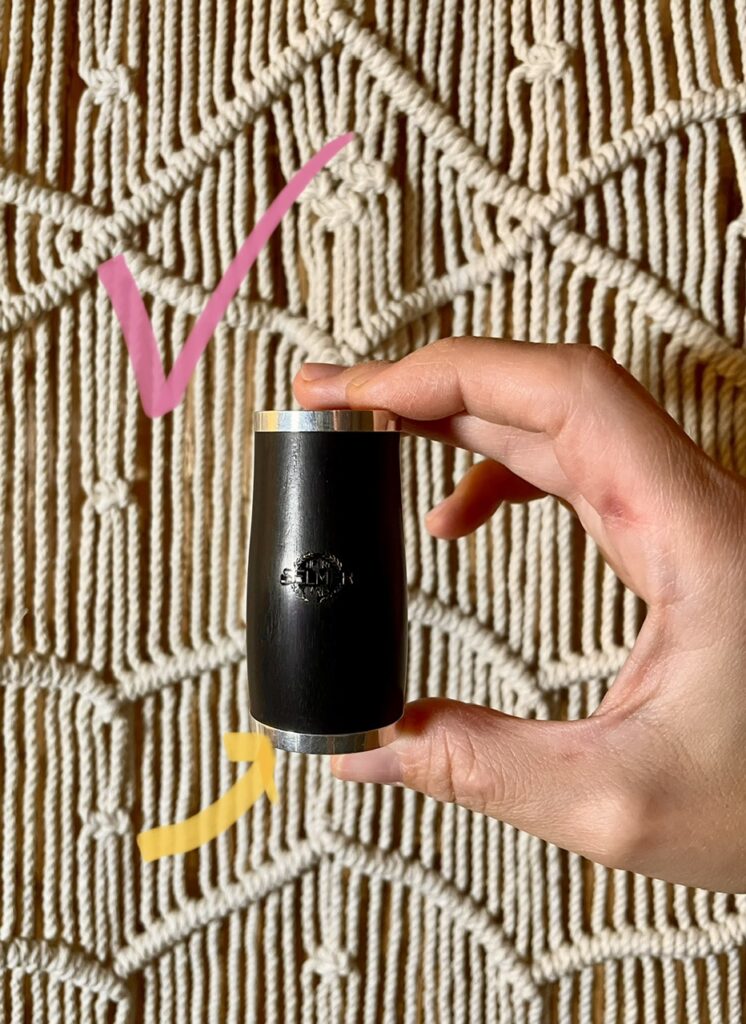
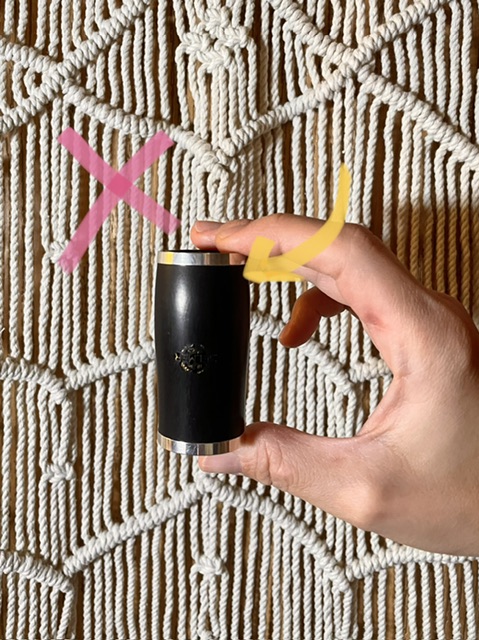
The final piece I add is the mouthpiece. I make sure to line up the table of the mouthpiece with the register key on the back of the upper joint.
From here on I proceed to setting up my reed on the mouthpiece. For a detailed look at this part, be sure to stay tuned for my upcoming post!
Give this way of setting up your clarinet a go, you might find that you like it. Let me know your thoughts below and share this blog with a friend. If you’re looking to sign up for one-on-one lessons, you can book a lesson with me here.
